Special Construction Plan for UV-CIPP Repair of Partially Collapsed
Pipeline (Without Soil Cover)
Special Construction Plan for UV-CIPP Repair of Partially Collapsed
Pipeline (Without Soil Cover)
Project Overview and Special Condition Analysis
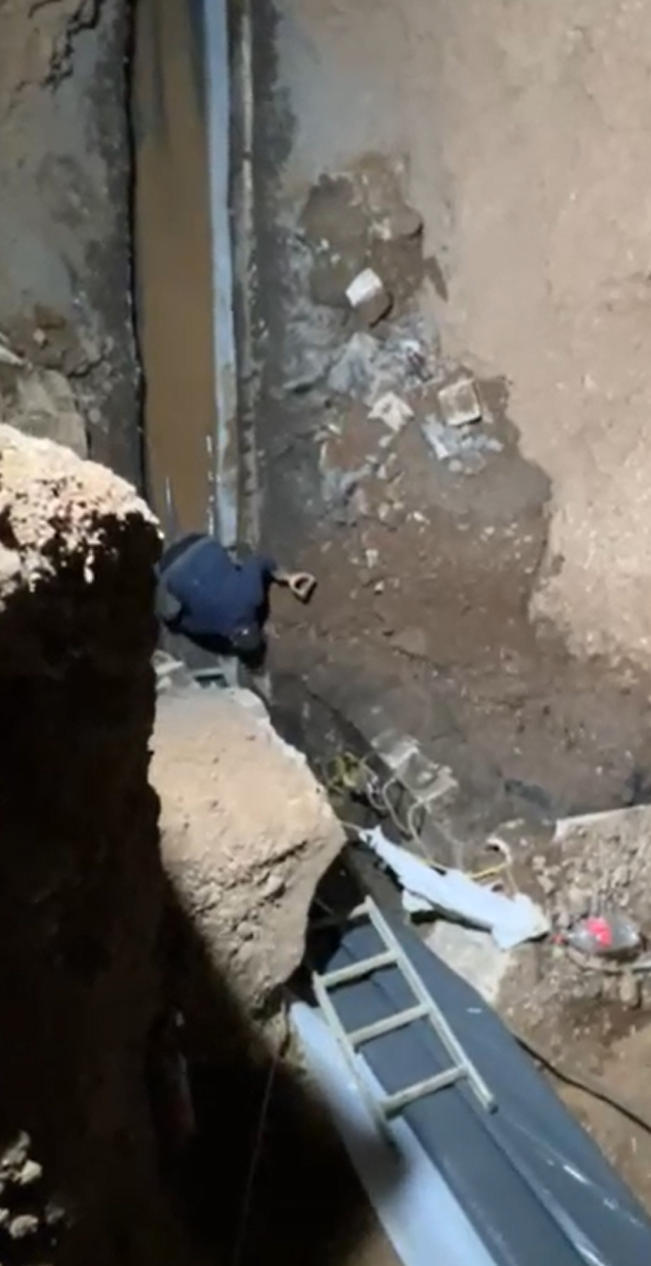
Based on site inspection and evaluation, a severe structural defect
exists in the underground pipeline section extending approximately
5 meters from the inspection well: the upper part of the pipeline
has completely collapsed, leaving no original soil cover.
Conventional UV-CIPP repair requires the original pipeline to have
a certain structure to support the liner. Under the current extreme
condition of "no pipe crown, no soil cover," if standard pressure
is directly applied for inflation, the liner will over-expand in
the unconstrained collapsed area, leading to wall thinning or even
bursting, failing to form properly. Therefore, specific special
construction techniques must be adopted.
Detailed Construction Steps
Pre-construction Preparation and Site Clearance
Ensuring deep trench fall prevention and safety protection for
personnel, clear debris, sludge, stagnant water, and sharp objects
in the collapsed area. Keep the trench bottom flat to prevent
scratching the UV-CIPP bottom foil during the pulling and inflation
process.
Pulling the Bottom Foil and Liner
Lay the sliding bottom foil from the inspection well according to
standard procedures, and then use a winch to slowly pull the
UV-CIPP liner into the pipe, ensuring it smoothly passes through
the >5-meter collapsed and exposed area.
Installing Extended Safety Caps
In the 5-meter collapsed section, completely sleeve the prepared
extended safety caps over the UV liner. Both ends of the safety
caps must be effectively overlapped and tightly secured to the
intact parts of the original pipeline, ensuring the entire liner in
the uncovered area is strictly wrapped to form a continuous
diameter constraint.
Stepped Pressurization and Coordinated Backfilling
This step is the absolute core of this plan, directly affecting
whether the liner can be safely formed. It must be strictly
executed simultaneously as follows:
Phase 1: Initial Micro-pressure Inflation
Start the blower and extremely slowly increase the pressure inside
the liner, strictly controlling it between 0.1 - 0.2 Bar. The liner
will bulge slightly, showing a basic pipe shape, but due to the
minimal pressure, it will not break through the safety caps or
deform excessively.
Phase 2: Initial Soil Backfilling
While maintaining the 0.1-0.2 Bar micro-pressure, backfill selected
soil to the sides and top of the liner in the collapsed area.
Backfilling must be done manually and gently; mechanical violent
dumping is strictly prohibited. The soil should just cover the
sidewalls of the liner, providing initial external support.
Phase 3: Slow Pressure Increase and Synchronized Backfilling
As the first batch of backfill soil provides external support,
operators slowly increase the inflation pressure (gradually to
0.3-0.4 Bar or higher), while the construction team continues to
pile up the backfill soil. Pressure elevation and soil backfilling
are performed alternately and synchronously to maintain a dynamic
balance between internal and external forces.
Phase 4: Reaching Working Pressure and Complete Backfilling
When the backfill soil reaches the design elevation above the pipe
crown, sufficient to completely resist internal pressure, finally
increase the pressure to the standard UV curing working pressure
for that pipe diameter. Complete the final compaction of the soil
under the balance of internal and external pressure.
UV Curing Operation
After confirming stable pressure and adequate external backfilling,
insert the UV light train into the liner. Under standard working
pressure, pull the light train at a constant speed calculated based
on pipe diameter and wall thickness to perform the UV irradiation
curing operation.
End Processing and Restoration
After curing, slowly depressurize, cut off the excess liner at both
ends, and remove the safety cap residues at the pipe openings. Use
special sealing materials to waterproof and seal the ends at the
inspection wells, clean the site, and complete the overall repair
project.

 Revolutionize Your Pipeline Repair Projects with Trenchless Technology CIPP

